AWS Trainium & Inferentia 文件
載入介面卡
加入 Hugging Face 社群
並獲得增強的文件體驗
開始使用
載入介面卡
有幾種訓練技術可以個性化擴散模型,以生成特定主題或特定風格的影像。這些訓練方法中的每一種都會產生不同型別的介面卡。有些介面卡會生成一個全新的模型,而另一些介面卡則只修改一小部分嵌入或權重。這意味著每個介面卡的載入過程也不同。
本指南將向您展示如何載入 LoRA 權重。
LoRA
低秩適應是 Stable Diffusion 調整生成影像風格最快的方法。在 Optimum Neuron 中,我們支援透過在編譯過程中將其引數融合到文字編碼器和 unet 的原始引數中來使用一個或多個 LoRA 介面卡。下面是一個示例,展示如何使用您選擇的 LoRA 介面卡編譯 Stable Diffusion 模型,並使用編譯好的工件生成風格化影像。
from diffusers import LCMScheduler
from optimum.neuron import NeuronStableDiffusionPipeline


model_id = "Lykon/dreamshaper-7"
adapter_id = "latent-consistency/lcm-lora-sdv1-5"
input_shapes = {"batch_size": 1, "height": 512, "width": 512, "num_images_per_prompt": 1}
compiler_args = {"auto_cast": "matmul", "auto_cast_type": "bf16"}

# Compile
pipe = NeuronStableDiffusionPipeline.from_pretrained(
    model_id,
    export=True,
    inline_weights_to_neff=True,  # caveat: performance drop if neff/weights separated, will be improved by a future Neuron sdk release.
    lora_model_ids=adapter_id,
    lora_weight_names="pytorch_lora_weights.safetensors",
    lora_adapter_names="lcm",
    **input_shapes,
    **compiler_args,
)
pipe.scheduler = LCMScheduler.from_config(pipe.scheduler.config)

# Save locally or upload to the HuggingFace Hub
pipe.save_pretrained("dreamshaper_7_lcm_lora_neuron/")


# Inference
prompt = "Self-portrait oil painting, a beautiful cyborg with golden hair, 8k"
image = pipe(prompt, num_inference_steps=4, guidance_scale=0).images[0]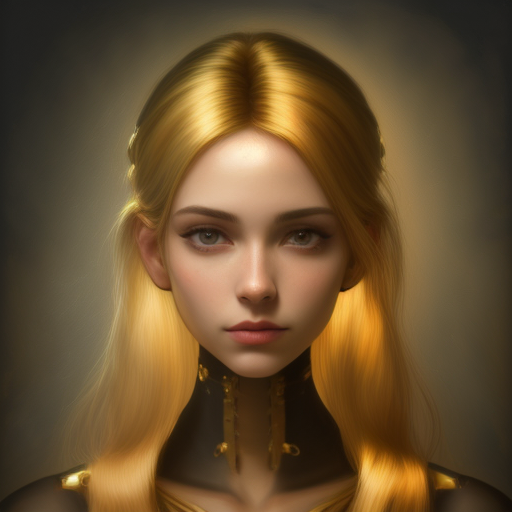
您希望我們在 🤗Optimum-neuron 中支援其他擴散功能嗎?請向 Optimum-neuron Github 倉庫 提交問題,或在 HuggingFace 的社群論壇 上與我們討論,祝好 🤗!